Are you experiencing issues with your Keurig coffee machine’s cup size lights not blinking? Don’t fret! This comprehensive guide will walk you through what the cup size lights mean, the possible causes of this issue, and a step-by-step process to fix the problem. Let’s dive in and get your coffee flowing again!
What Do The Keurig Cup Size Lights Mean?
The Keurig cup size lights are an essential part of your coffee maker’s interface. They indicate the selected brewing size for your coffee, which typically includes small, medium, and large options. These lights are designed to blink when the machine is ready to brew, guiding you through the brewing process and ensuring you get the perfect cup of coffee every time.
Causes Of Cup Size Lights Not Blinking On Keurig Coffee Machine
There could be several reasons behind your Keurig’s cup size lights not blinking. Some common causes include:
- Power issues: Your Keurig coffee maker may not be receiving adequate power or may be turned off.
- Faulty lights: The cup size lights themselves may be damaged or malfunctioning.
- Internal errors: Your coffee maker may be experiencing an internal error or glitch, causing the lights not to blink as expected.
How To Fix The Cup Size Lights Not Blinking Issue
Step 1: Check The Power Connection
To ensure that your Keurig coffee maker is receiving adequate power, follow these steps:
- Verify that the coffee maker is plugged in securely and switched on.
- If it still doesn’t turn on, try plugging it into a different power outlet.
- Check the fuse on the plug to ensure it is not blown or damaged.
Step 2: Reset Your Keurig Coffee Maker
Resetting your Keurig coffee maker can help resolve any internal errors or glitches. Follow these steps:
- Unplug your coffee maker from the power outlet.
- Wait for a few minutes to let the machine’s internal components reset.
- Plug the coffee maker back into the power outlet and switch it on.
Step 3: Perform A Descaling Process
Mineral buildup inside your coffee maker may cause the cup size lights to malfunction. To descale your machine:
- Refer to your Keurig’s manual for specific descaling instructions, as the process may vary between models.
- Fill the water reservoir with a descaling solution or white vinegar mixed with water.
- Run the descaling process by starting a brewing cycle without a coffee pod.
- After the descaling process is complete, flush the machine by running several brewing cycles with fresh water.
Step 4: Inspect The Cup Size Lights
If the issue persists after trying the previous steps, inspect the cup size lights for visible damage:
- Unplug your Keurig coffee maker.
- Carefully examine the cup size lights for any signs of damage or malfunction, such as cracks, loose connections, or burn marks.
- If you notice any damage, it may be time to replace the lights or contact Keurig support for further assistance.
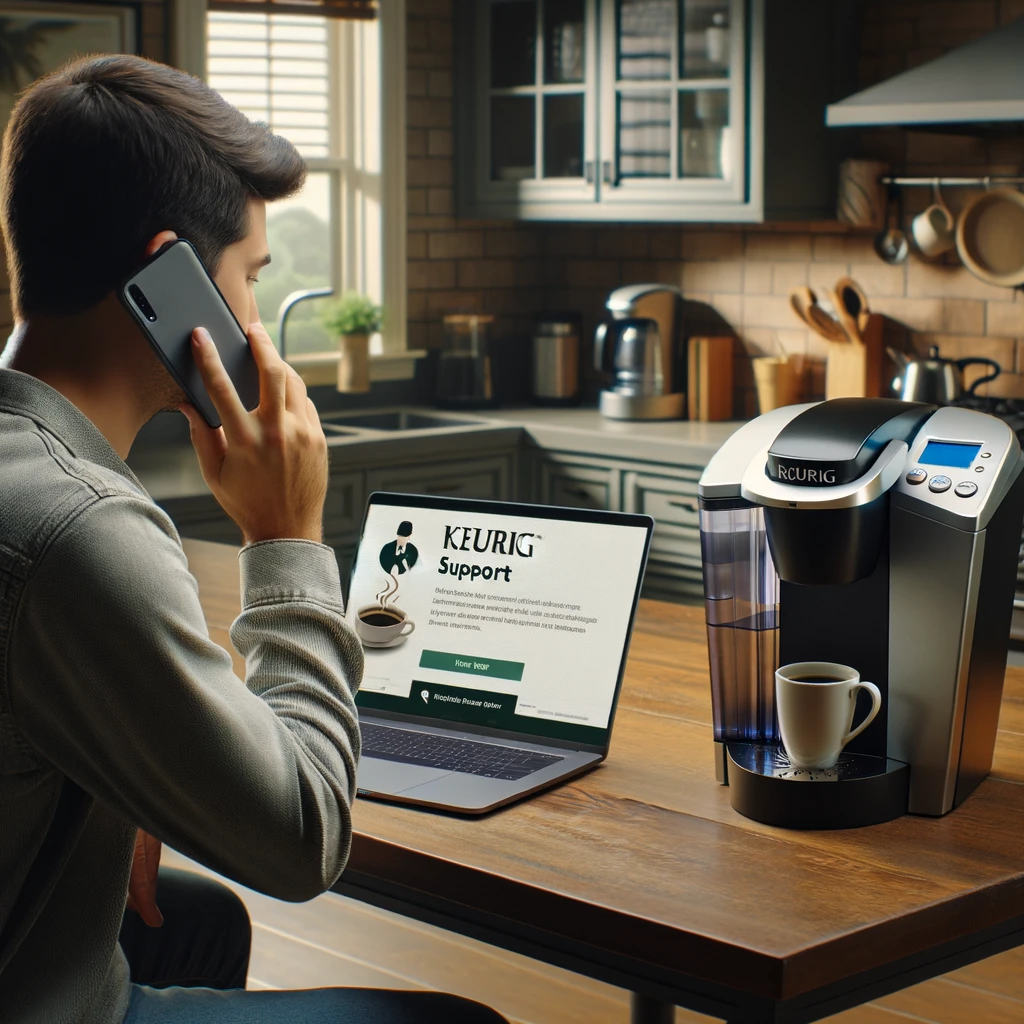
Step 5: Contact Keurig Support

If none of the above steps resolve the issue, reach out to Keurig’s customer support for further assistance:
- Visit Keurig’s official website and navigate to the support section.
- Locate the contact information for their customer support team, including phone numbers, email addresses, or live chat options.
- Explain the issue you’re experiencing and provide your coffee maker’s model number.
- Keurig support may guide you through additional troubleshooting steps, or help you with a replacement or repair.
By following these steps, you should be able to resolve the issue of your Keurig’s cup size lights not blinking. If you still need help, don’t hesitate to contact Keurig support for expert assistance.
Preventive Cleaning For Keurig Coffee Machines

Maintaining your Keurig coffee machine through regular preventive cleaning is key to ensuring its longevity and optimal performance. Here are some essential tips:
- Daily Cleaning: Wipe down the exterior of your machine daily with a damp cloth to remove dust and spills. Regularly empty and clean the drip tray to prevent overflow and odors.
- Weekly Cleaning: Once a week, remove and wash the water reservoir and lid, mug stand, and K-cup holder in warm, soapy water. Rinse thoroughly to remove soap residue.
- Monthly Cleaning: Perform a deep cleaning monthly. Use a soft brush or cloth to clean around the coffee pod holder area to remove any coffee grounds or debris.
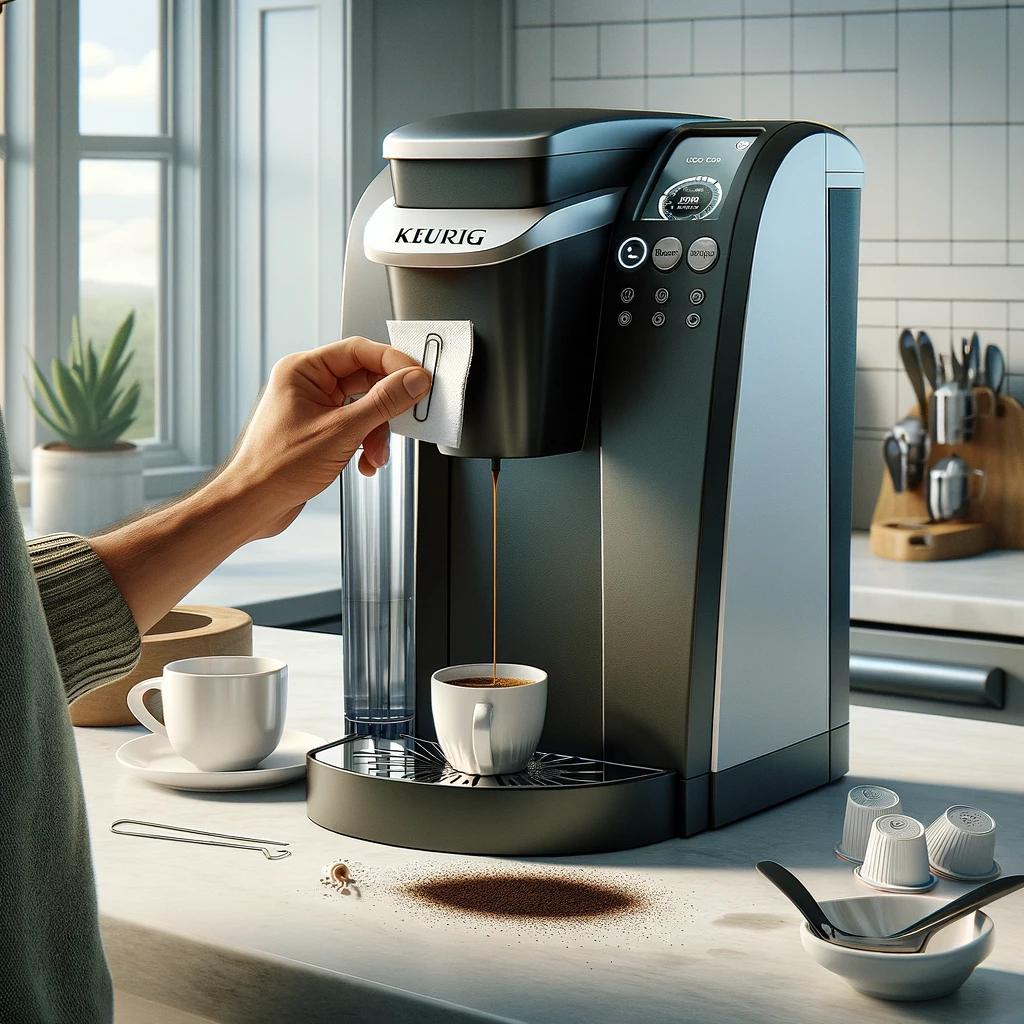
- Needle Maintenance: The needle that punctures the coffee pods can become clogged. Use a paperclip to gently clear away any obstruction in the needle.
- Descaling: Every 3-6 months, depending on your usage, descale your Keurig machine to remove mineral build-up. Use a descaling solution or a mix of white vinegar and water, and follow the manufacturer’s instructions for the descaling process.
By incorporating these preventive cleaning steps, you will not only extend the life of your Keurig coffee machine but also ensure that each cup of coffee it brews is of the highest quality.
FAQ: Keurig Cup Size Lights
The Keurig cup size lights serve as a guide for the brewing process, indicating the selected brewing size for your coffee. These lights typically represent small, medium, and large options and should blink when the machine is ready to brew, ensuring you get the perfect cup of coffee every time.
If your Keurig cup size lights are not blinking, it could be due to a few reasons, such as power issues, faulty lights, or internal errors. To troubleshoot, ensure that your coffee maker is properly plugged in and switched on, reset the machine, perform a descaling process, and inspect the lights for visible damage.
To fix the problem of your Keurig’s cup size lights not blinking, follow these steps: check the power connection, reset your Keurig, perform a descaling process, inspect the cup size lights for visible damage, and if necessary, contact Keurig support for further assistance.
To reset your Keurig coffee maker, unplug it from the power outlet, wait for a few minutes to allow the internal components to reset, and then plug it back in and switch it on. This may resolve any internal errors or glitches causing the cup size lights not to blink.
It’s recommended to descale your Keurig coffee maker every 3 to 6 months, depending on the hardness of your water and the frequency of use. Regular descaling helps prevent mineral buildup inside the machine, which may cause the cup size lights to malfunction and ensures optimal performance.
If you notice visible damage to your Keurig’s cup size lights, such as cracks, loose connections, or burn marks, it may be time to replace them. Contact Keurig support for further assistance, as they can help you with replacement parts or guide you through a repair process.
If you need assistance with your Keurig’s cup size lights, you can visit the official Keurig website and navigate to the support section. Here, you’ll find contact information for their customer support team, including phone numbers, email addresses, and live chat options. They can help guide you through troubleshooting steps, repairs, or replacements.
Conclusion
Fixing your Keurig’s cup size lights not blinking issue doesn’t have to be a daunting task. With this guide, you now have the knowledge and steps to identify and resolve the problem. Give these solutions a try, and you’ll be back to enjoying your favorite cup of coffee in no time. If you still need help, don’t hesitate to contact Keurig support for expert assistance. Happy brewing!


